{*~Mug Rug Madness Tutorial~*}
Mug Rug Madness has been SO fun to see all week! Thank you so much Erin for inviting me! The previously posted tutorials are all SO cute and very inspiring! And did you see how fun the flickr pool is? So great!!!
I started making mug rugs a few Christmas's ago, my friend Carolyn who I sewed with in Eureka one day came to our sewing group and was making these cute little things out of her scraps. I was so curious and she said "oh! they are just mug rugs"! But being inspired by all kinds of Japanese zakka sewing, I became obsessed with the idea of these little small patchwork bits that you can use to brighten up your space. I made them for gifts, for myself, for Chop. I made them to match mugs and when I was dying to do some scrap busting.
Today I'm going to give you a brief overview how to make a mug rug using a traditional quilt block called Christmas Star II. I've noticed a lot of contemporary quilters stay away from structured piecework because they are worried their pieces won't match up or they think they are "boring". That's a total bummer because there is SO much inspiration and potential in traditional blocks!
The possibilities are endless for Christmas Star II. I made all my inner brackets (HSTs!) different fabrics, but you can most certainly do them all the same. Imagine this block in solids? Or Liberty? It would be gorgeous. Quilting is all about taking a block & some fabric & making it YOURS.
This will make a 5 inch block that I've added a 5 1/2 inch piece of fabric too after the block was completed.
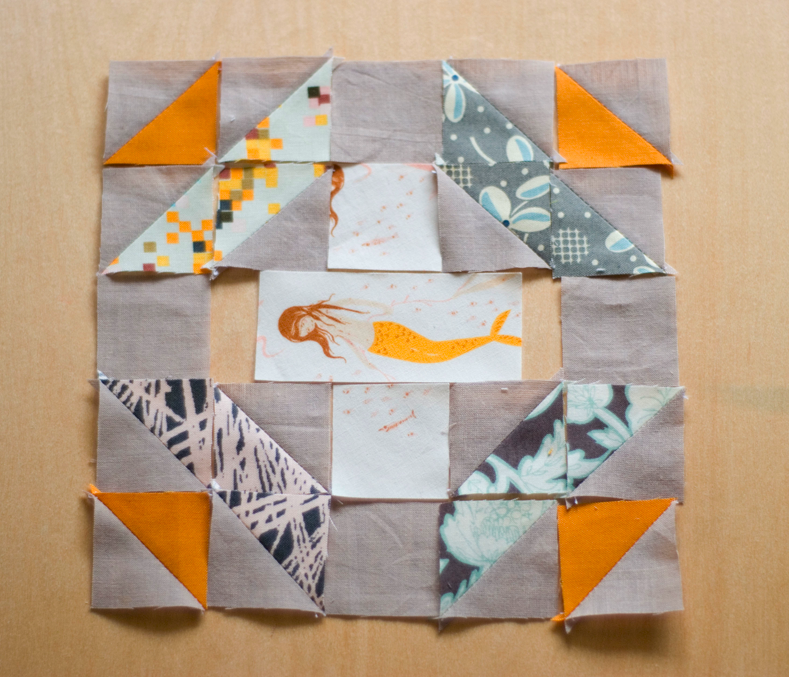
You will need a total of 16 HSTs in the combination of fabrics you like. They will be cut at 1 7/8'' and they finish at 1 inches. It's up to you to make your HSTs in whatever method you prefer. I like Thangles personally. I used a variety of fabrics: FreeSpirit Designer Solids, Habitat by Jay McCarroll, Hope Valley by Denyse Schmidt and Lush by Erin Michaels. My background fabric is a Kaffe Fassett shot cotton, I have no idea the color name but if anyone does, please chime in! I'd love more!
You will need 4 squares made from your background fabric. They will be cut at 1 1/2 inches.
For the cross in the middle of the block you'll need two squares, 1 1/2 inches each. The rectangle is the perfect size to fussy cut things, 1 1/2 x 3 1/2 inches!
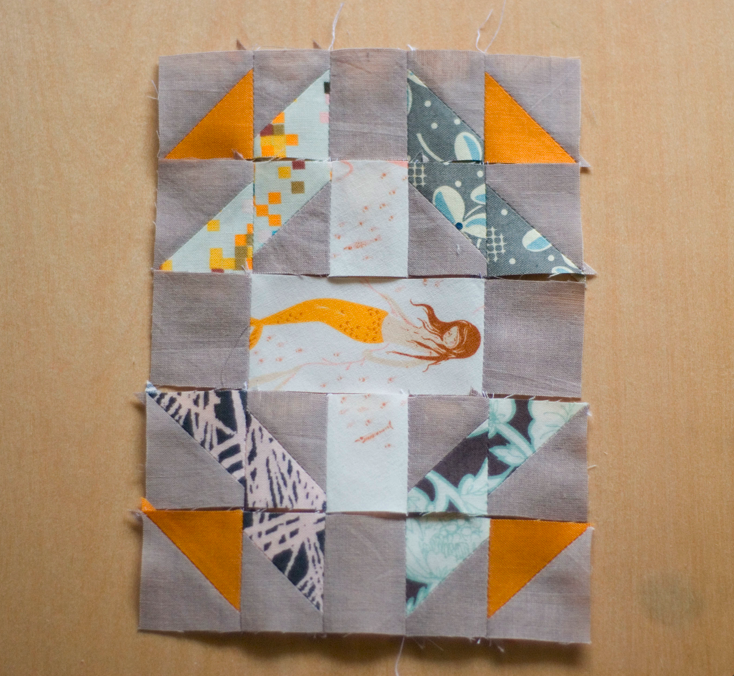
After you've cut out all your pieces, lay them down in the order in which they'll be sewn. Starting from the left sew each block to each other along the top row. Then continue making all 5 horizontal rows.
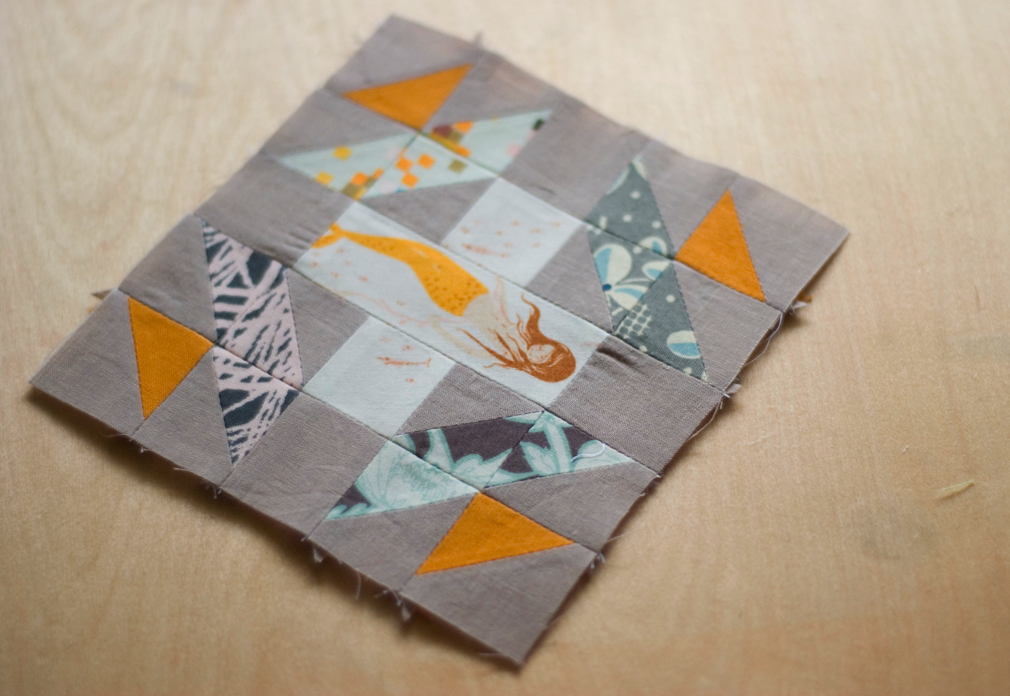
Once your horizontal rows are assembled, sew your block together! At this point I use a LOT of pins to make sure my pieces line up as best as possible.
Yay!!! You've completed your block! At this point you can starch your fabric to make it flatter and more crisp, just don't starch it too much or you'll have a little dent in your block like mine! Next, sew a 5 1/2 x 5 inch rectangle onto your block. This is the empty space for your quilting or applique!
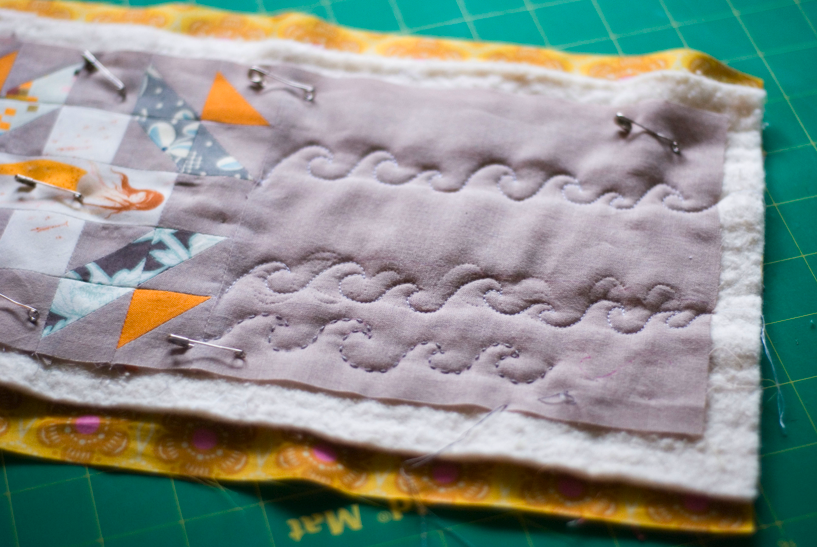
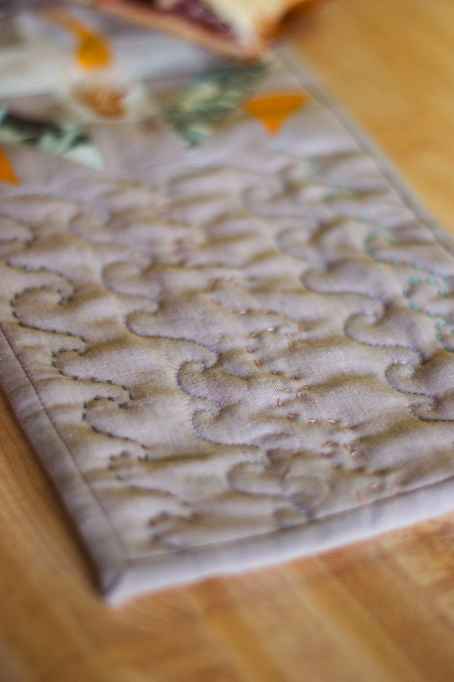
After I made my quilt sandwich (I backed my mug rug with Little Folks Voile by Anna Maria Horner), I free motion quilted some waves and then hand quilted some waves with 2 strands of Cosmo embroidery floss. I used three different colors, a dark gray, a coral & an aqua. The free motion quilted waves are done with white thread.
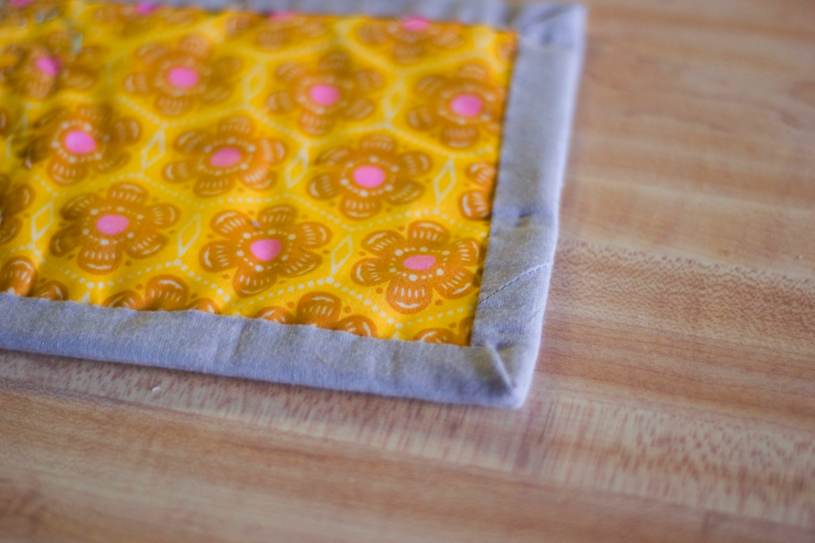
Yay!!!! Mug rug!!! I cut my binding strips to 2 inches, I prefer narrow binding for pretty much all my projects as a personal preference. I then hand sew it onto the back.
Use & love your small bit of cute patchwork! You don't have to add the extra space for quilting either, it would be super fun to have a bunch of these 5 inch squares as coasters!
Don't forget to enter the official giveaway post! There are some great mug rugs being given away...mine is coming with me to The Sewing Summit where I'll be talking more about inspiration & mini quilts!
Also, one post back I'm giving away an awesome prize...K. Miller photo actions!!! eee!!! Hop on over & enter to win those as well!
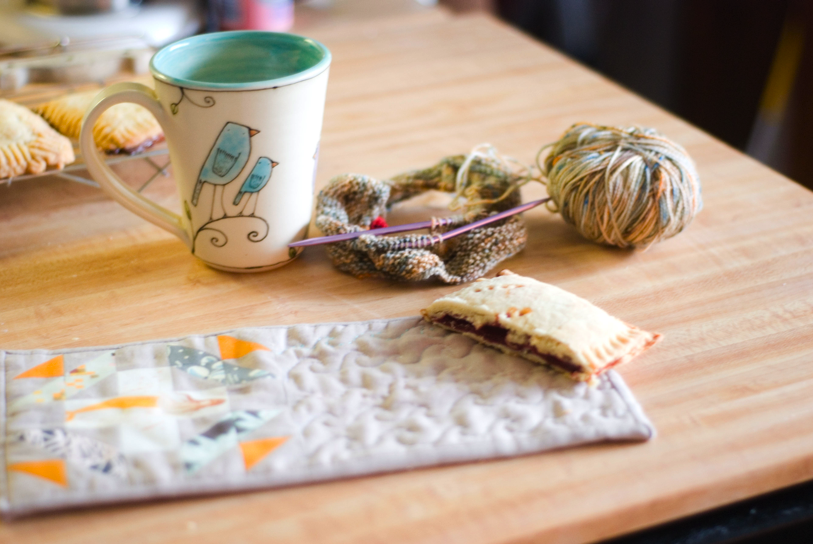
Curious about the pastries? They are homemade poptarts!
Thanks again for stopping by! And to Erin for all her hard work on putting all this together. And the other gals who created such great tutorials!!!!
